If you use Azure AD and Office 365 then you can setup single sign-on (SSO) in LeavePro using Microsoft Azure AD as your identity provider.
Step 1: Setup Azure AD
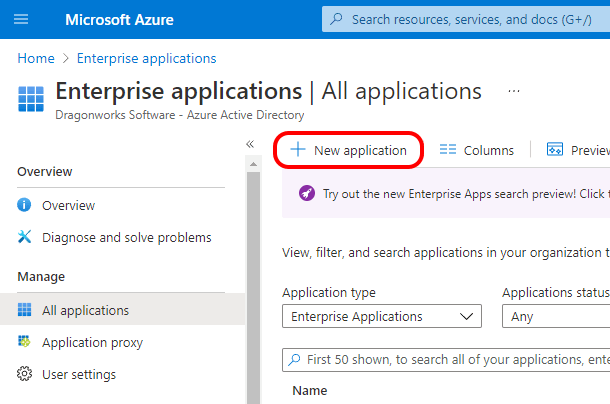
Go to “Enterprise Applications” in the Microsoft Azure portal.
Click “New Application”.
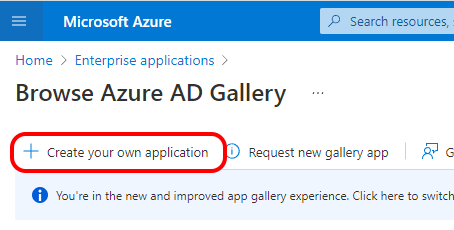
Click “Create your own application”.
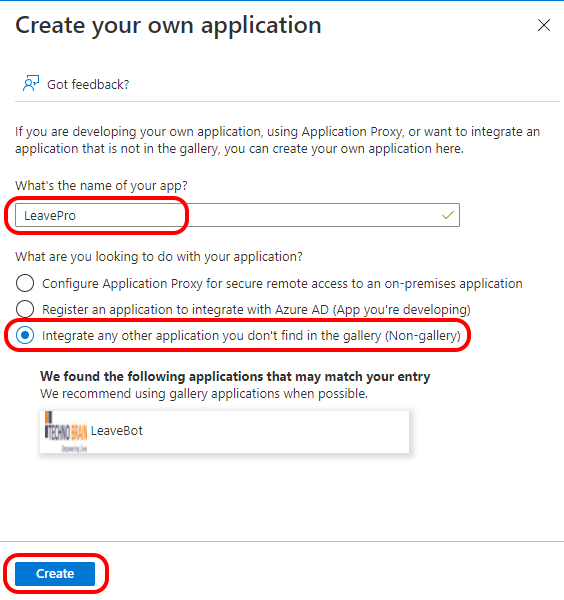
Enter ‘LeavePro’ as the name of the application and select the default “Integrate any other application you don’t find in the gallery”, then click “Create”.
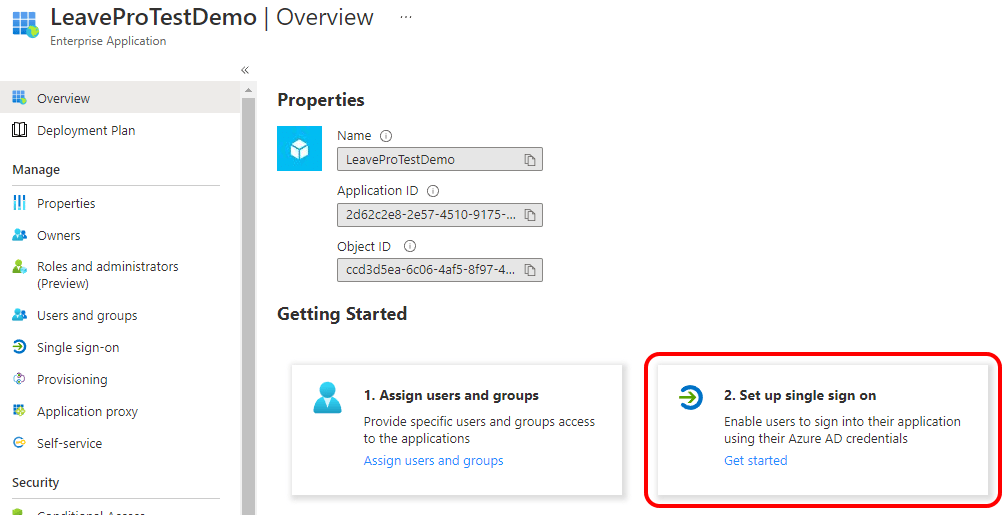
Click on “2. Set up single sign on”.
Select “SAML” as the single sign-on method.
Now go back to LeavePro and select “Administration -> Single Sign-On” from the top menu.
Click on “How to setup your Identify Provider” and then click on “Download Metadata File”, and save the file onto your computer.
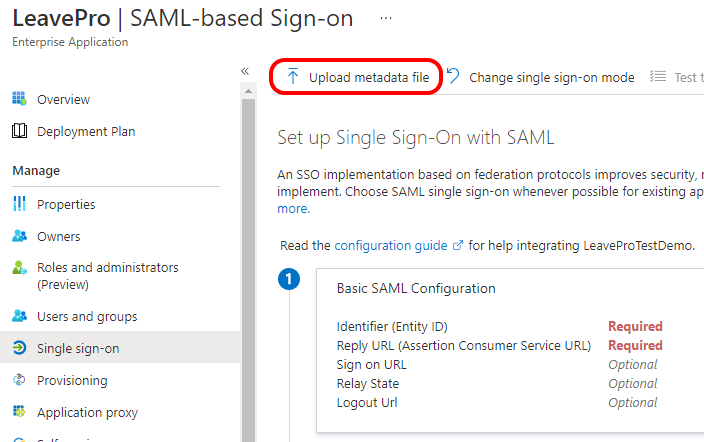
Switch back to Azure and click “Upload metadata file”.
Click on “Select a file” and select the file that you saved from LeavePro, then click “Add”.
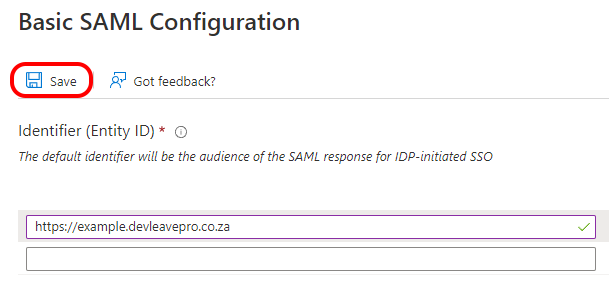
Click on “Save”.
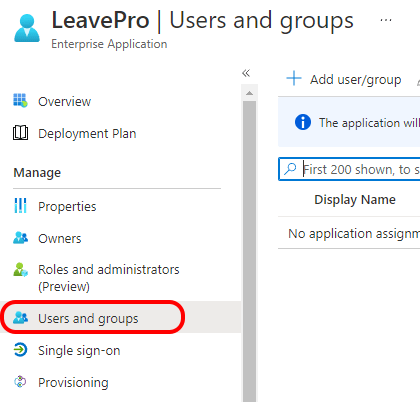
Select “Users and groups” from the menu on the left.
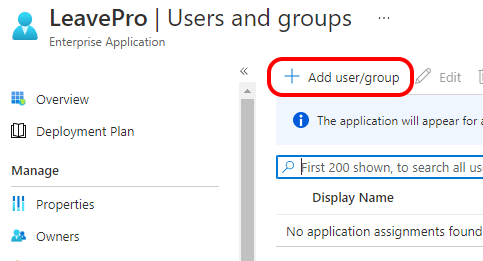
Click “Add user/group” and select the users who should have access to LeavePro. Once you have selected the users make sure that you click the “Assign” button.
Select “Single sign-on” from the menu on the left and make a note of the settings below:
- Login URL
- Azure AD Identifier
You will need to enter these settings into LeavePro during Step 2 below.
Step 2: Setup LeavePro
Go back to LeavePro and select “Administration -> Single Sign-On” from the top menu.
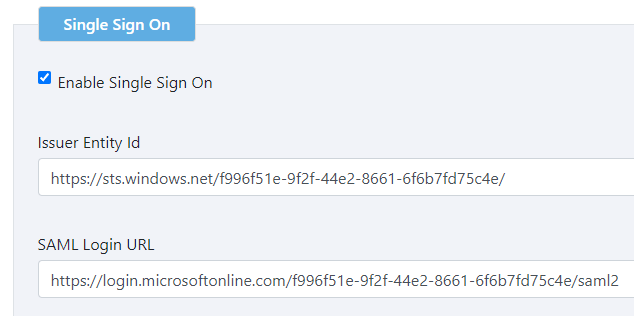
Tick “Enable Single Sign On”.
In the “Issuer Entity Id” field paste the “Azure AD Identifier” from Azure.
In the “SAML Login URL” field paste the “Login URL” from Azure.
Go back to Azure and click ‘Download’ next to ‘Certificate (Base64)’:
Open the downloaded file in a text editor. The file contents should begin with “—–BEGIN CERTIFICATE—–”
Copy the entire contents of the file and paste it into “Public Certificate” in LeavePro:
You can customise the sign-on button for users by entering something in the “Sign-In Button Label’
Click ‘Save Settings’.
Now you can test that single sign-on is working by logging out of LeavePro and then trying to log in with your Azure AD account.
Note that to log in with a Microsoft Azure AD account an employee must exist in LeavePro with the same e-mail address as that account.
This feature is only available in LeavePro Plus.
